This is a short guide to refresh your memory on the different ways you can use the printer.
If you haven’t previously been trained to use this printer, this guide will be perfect for you as it covers all key features you may require.
Table of Contents
Getting Started
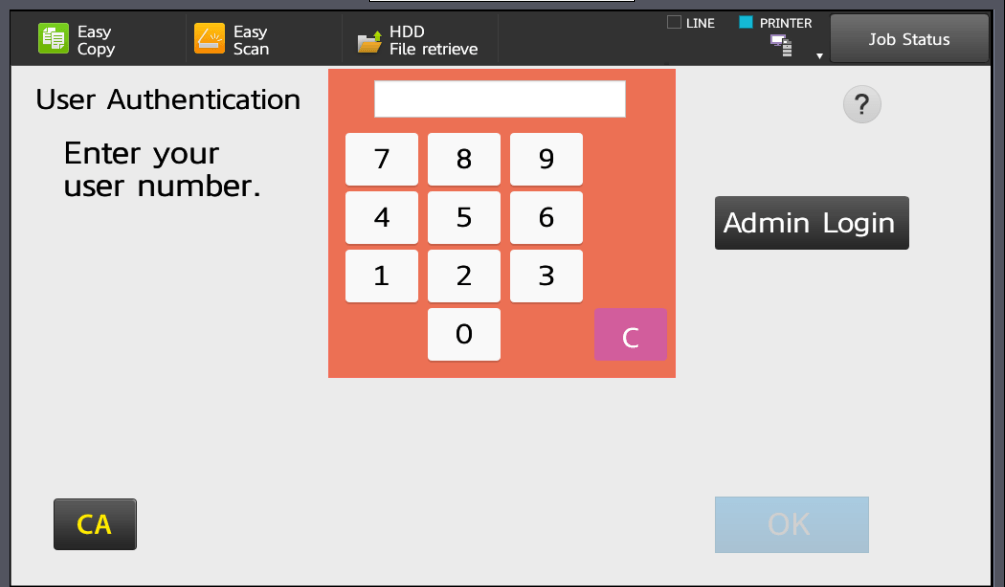
When you first use the printer, you will be greeted with login screen. This is where you will enter your printer code to proceed.
Once you have logged in, you will be greeted by the home screen. This will have all your essentials; expect for FTP/Desktop, nobody uses that!
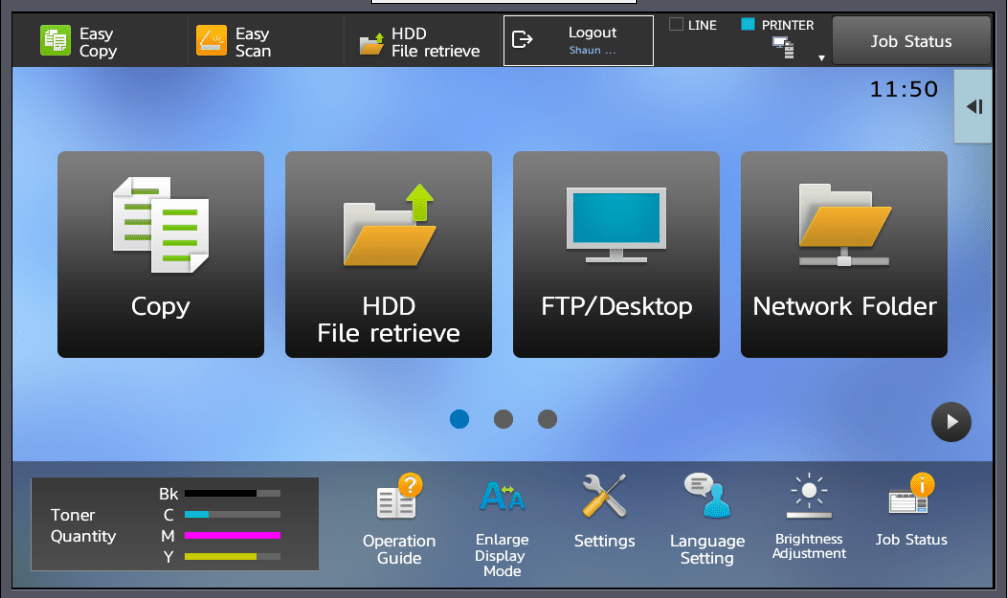
We will no go over the different features that this printer has to make your life easier!
Printing in Colour
Printing in colour is something that may be required for your displays, resources and even children’s work. Though you are unable to print in colour, you can still send your document in colour to the printer for Shaun to print for you.
This can be set by following these steps:
By default, your computer should be printing in black & white, but we can override that by going into the Printer Properties.
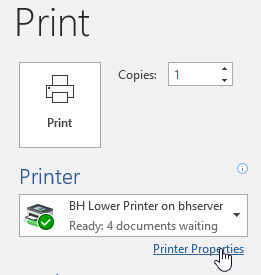
Once you’re on the Printer Properties, you should see all the settings for the printer.
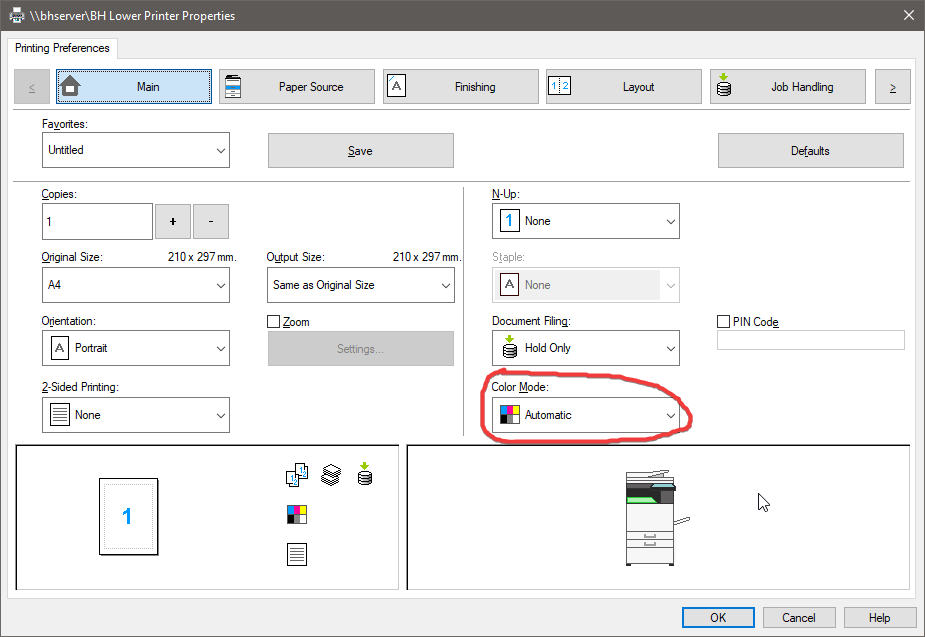
You will want to look at the setting ‘Color Mode’, this should be ‘Black & White’, but we want to set it to ‘Automatic’. This means it will detect whether you are printing in colour or black & white without having to mess with the settings.
Once this is done, you can send your document to the printer in colour and you can let Shaun know to get it printed.
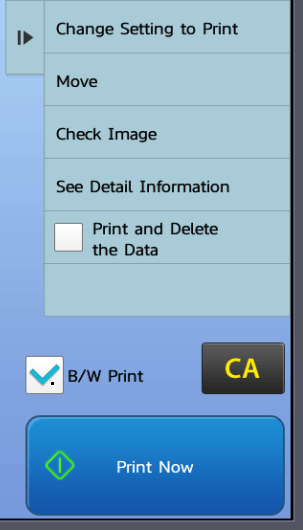
Though you may face the dreaded “File not Found” error when you are trying to print.

This issue means the file has been sent in colour; but you are unable to print it.
This issue can solved with one quick setting on the printer!
Just select your job, and then click on the checkbox “B/W Print”. Easy, you are now able to print your document!
Using the photocopier
The photocopier is something you’ll be using a lot of; you’ll be able to change one-sided to two-sided, print two to a page, scaling up or down, convert something into a booklet and more!
Printing Double-Sided
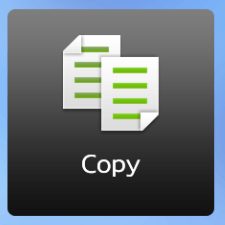
To print double sided, you will need two physical pieces of paper that you will feed into the document feeder. Once you have put them into the document feeder, you want to head over to the big ‘Copy’ area on the printer.
You will then be taken onto the Copy page where you have tons of options you can mess with.
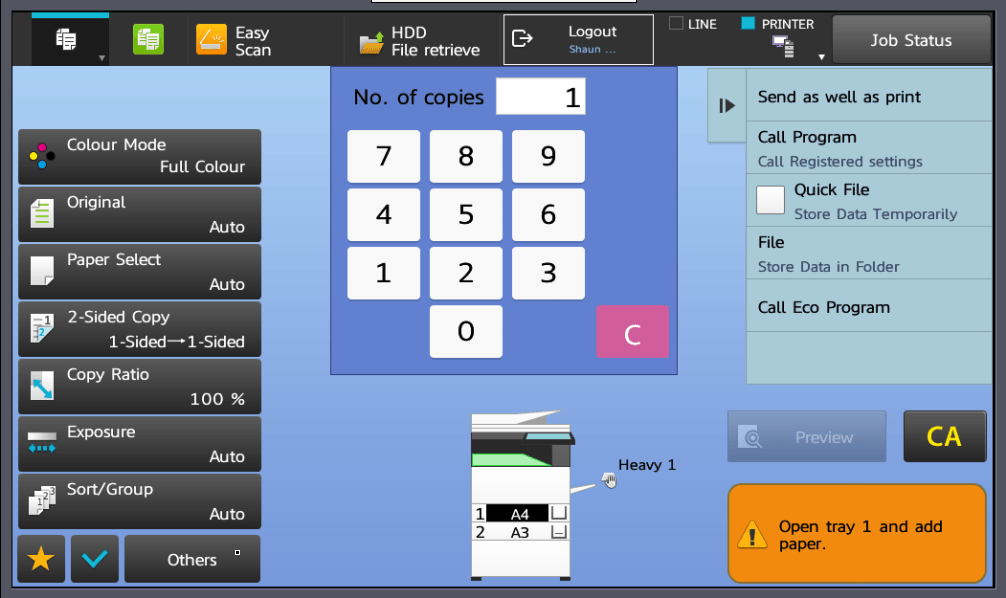
You want to click onto ‘‘2-Sided Copy’.
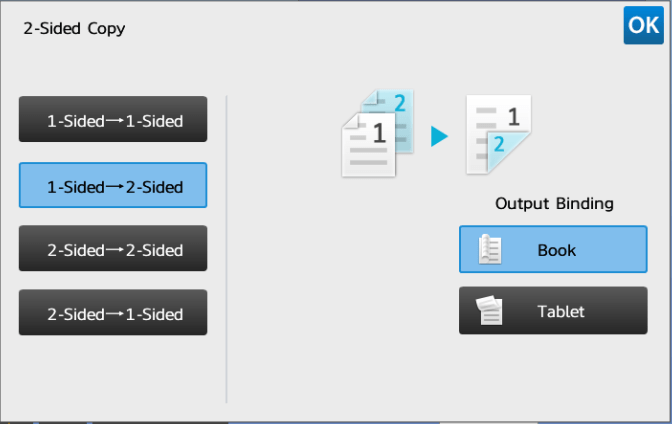
You can chose whether to have it 1-sided to 2-sided (this will copy two pages and combine them back to back). You can copy 2-sided pages to 2-sided, or you can split a 2-sided page to 1-sided pages.
There is also the Output Binding, this is always experimental as it can sometimes flip you pages, this is always an optional setting you can leave.
Printing two to a page
There are two options that you can use to get the result you want. If you want to have two of the same page on two to a page, then you will be using the Repeat Layout option, if you want to have multiple pages on two to a page then you will use the N-Up option.
Using Repeat Layout
Repeat layout is the option you want to use when you have 1 page and you would like it to be duplicated on two to a page.
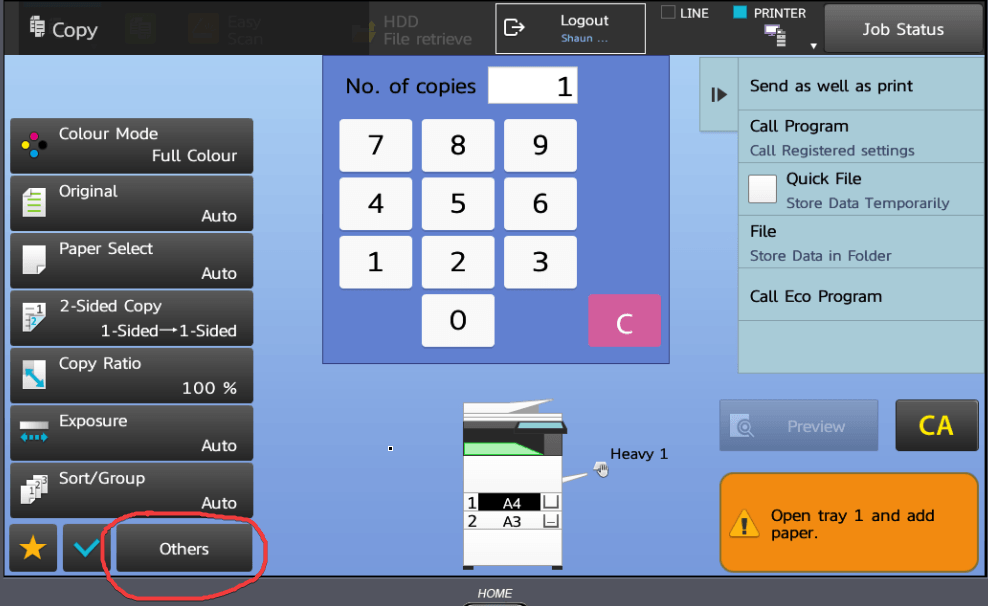
You can do this by going onto the Copy area, and clicking the ‘Others’ button at the bottom right of the screen.
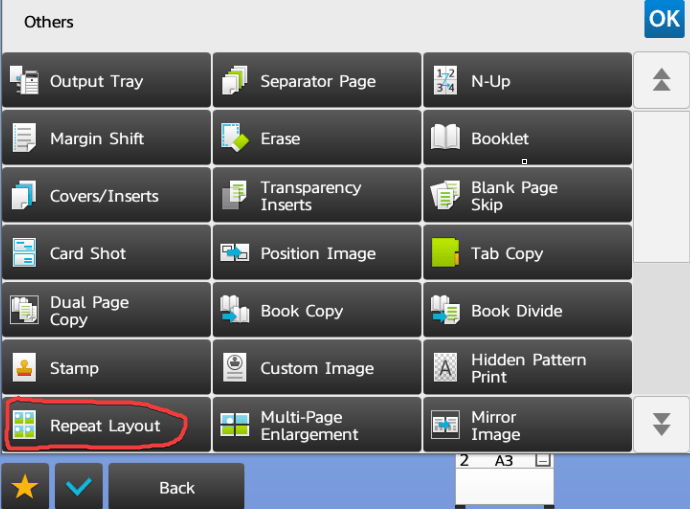
Once you have clicked onto ‘Repeat Layout’ it should open up another menu. For ease, do not use ‘Auto Repeat’, you will want to use ‘Fixed Repeat’.
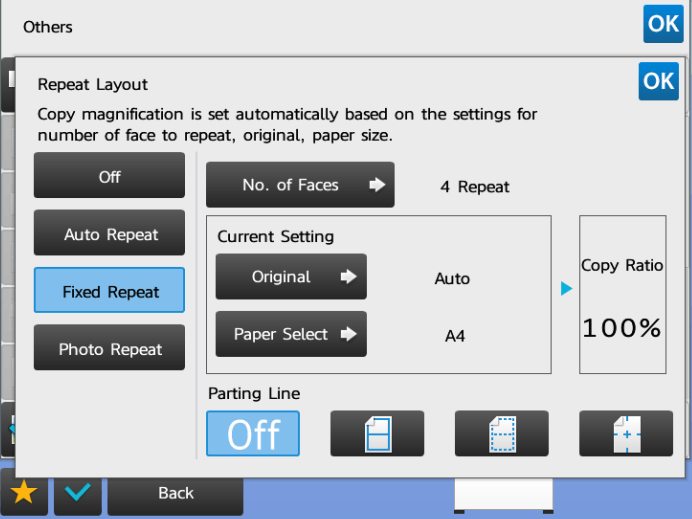
You will then want to click ‘No. of Faces’, this is where you chose whether you want 2, 4 or 8 on a page.
That’s it! You’ve just made your document 2 to a page. You can also mess around with ‘Photo Repeat’ if you have a very small photo such as an cut-out or ID that you want to repeat multiple times on a page.
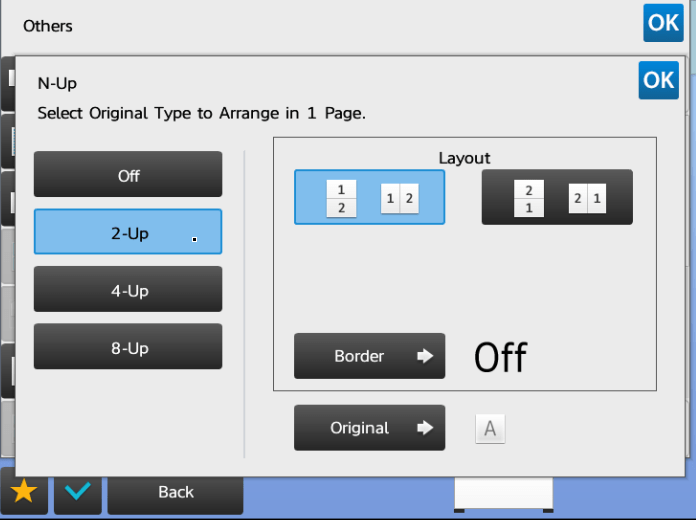
Using N-Up
N-Up is when you want multiple documents on one page. If you have two pages, you can use N-Up to put those two pages onto one page.
Head over to the Copy menu, click on Others and then find ‘N-Up’.
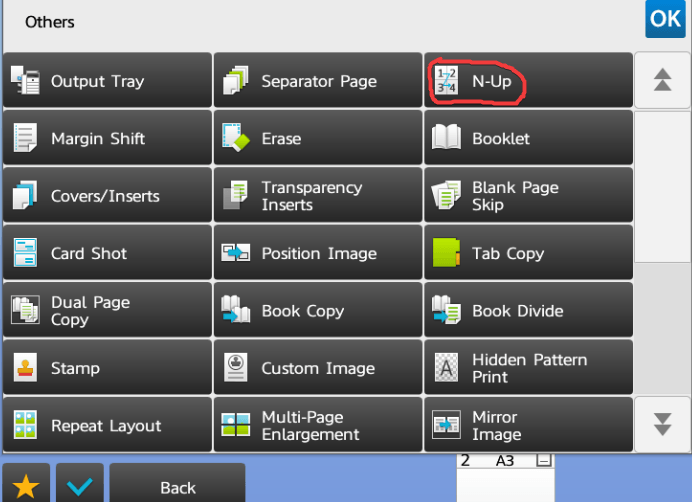
You can choose what settings you would like. 2-Up is two to a page. 4-Up is 4 to a page and so on.
Scaling from A4 to A3 or vice versa
This is a great tool to help you scale that very small text on your A4/A5 to a bigger size.
You want to make your way over to the Copy menu, again!

Next you want to click ‘Copy Ratio’ which is on the left hand menu.
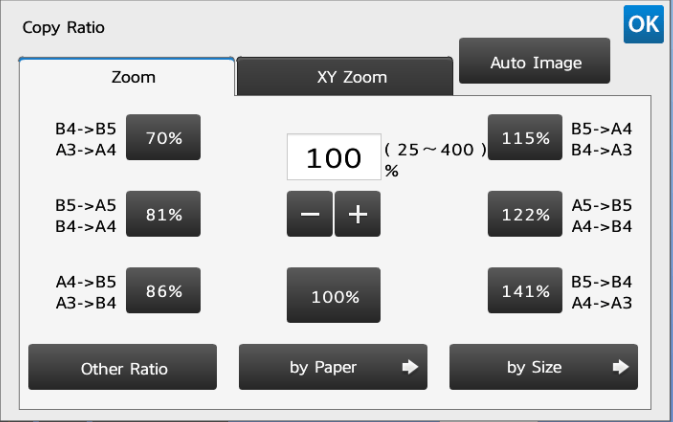
You then want to click on the middle option ‘by Paper’. This is the best option as you know what size paper you want to convert from and to.
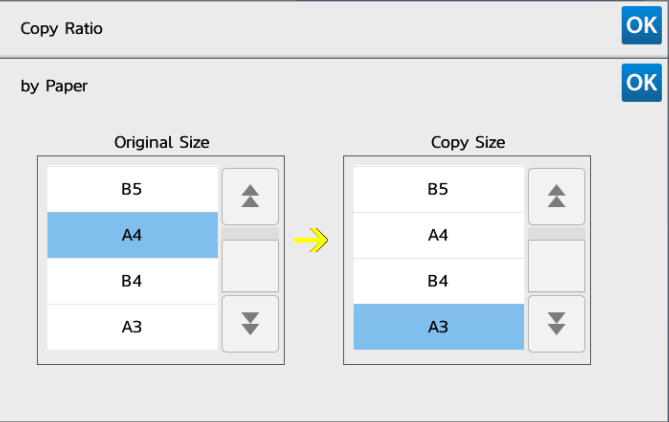
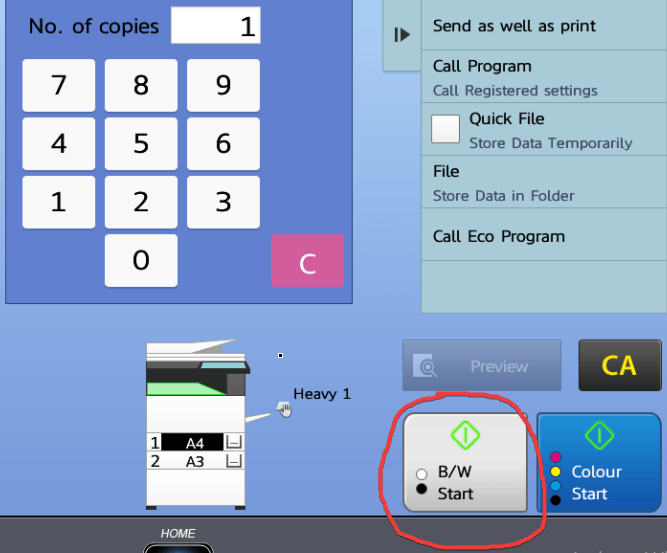
Once you’ve selected your Paper, you can then scan your document by hitting the ‘B/W Start’
Scanning to the network
This feature on the printer allows you to scan a document from the printer to the network. This is very useful when you want to store a resource/document that you may need in the future.
From the home screen, you want to click on ‘Network Folder’.
Once done, you will be greeted with the Network Folder scanning page.
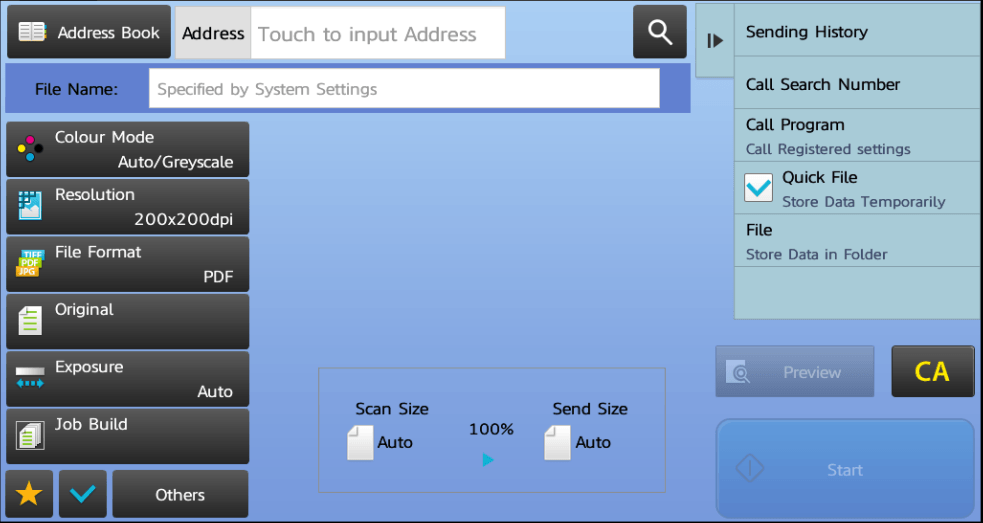
A lot of these settings do not need to be touched. Most of it has been done for you. Though, you can fiddle with the ‘Exposure’ settings to make the document you are scanning lighter or darker.
At the top of the page, you need to click ‘Address Book’. This will then allow you to pick an option.
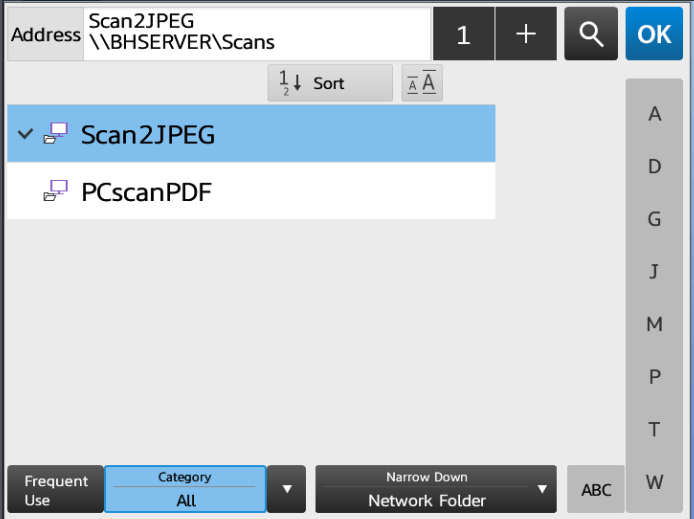
You have the choice to scan your document to a JPEG (an image format) or a PDF. PDF is better if you are scanning multiple documents, JPEG if you want an image (this is great for scanning a document and being able to post onto the blog easily).
Once you have selected your file format, you want to click the big blue OK and then proceed in scanning your document. This will then send that document over to the network.
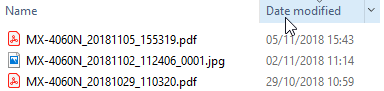
This can be found in the Scans drive. To get here, you must find your Windows Explorer/My PC and look out for the Scans drive.
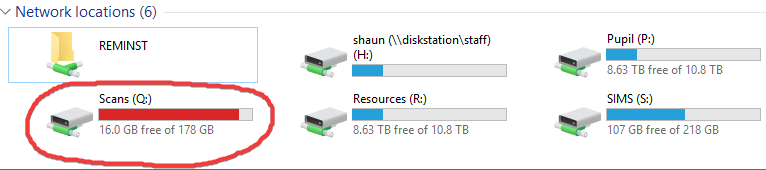
The best method to find your document is to sort the folder by ‘Date modified’. This will show all the recent scanned documents at the top.
You can also name the document from the printer by using the long bar before you are chosing your file format.
